 Add Row
  Add
Add 

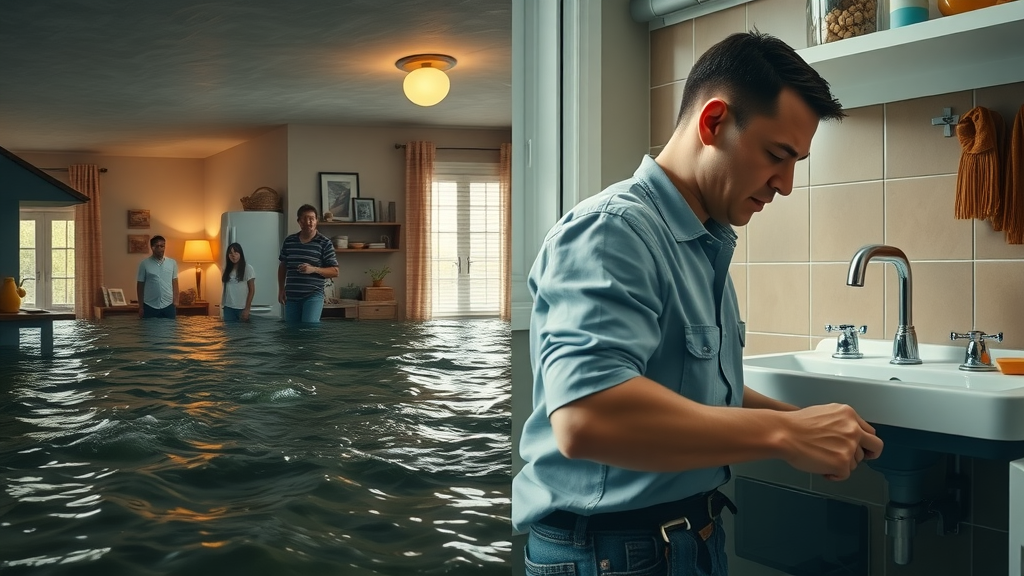
Did you know: Just one inch of water can cost over $25,000 in damage and initiate destruction in mere hours? Water damage isn’t just a minor inconvenience—it’s a homeowner’s worst nightmare. Discover how the right actions—taken swiftly—can make the difference between a quick fix and a gut-wrenching restoration process. If you’re searching for smart, practical advice, you’re in the right place. Let’s equip you to act before disaster takes hold.
Every Minute Counts: Understanding Water Damage Risks and Quick Actions
- Did you know that just one inch of water can cause more than $25,000 in damage to your home?
- Water damage can start to ruin carpets, furniture, and walls within hours.
- Mold grow can begin in as little as 24–48 hours after water exposure.
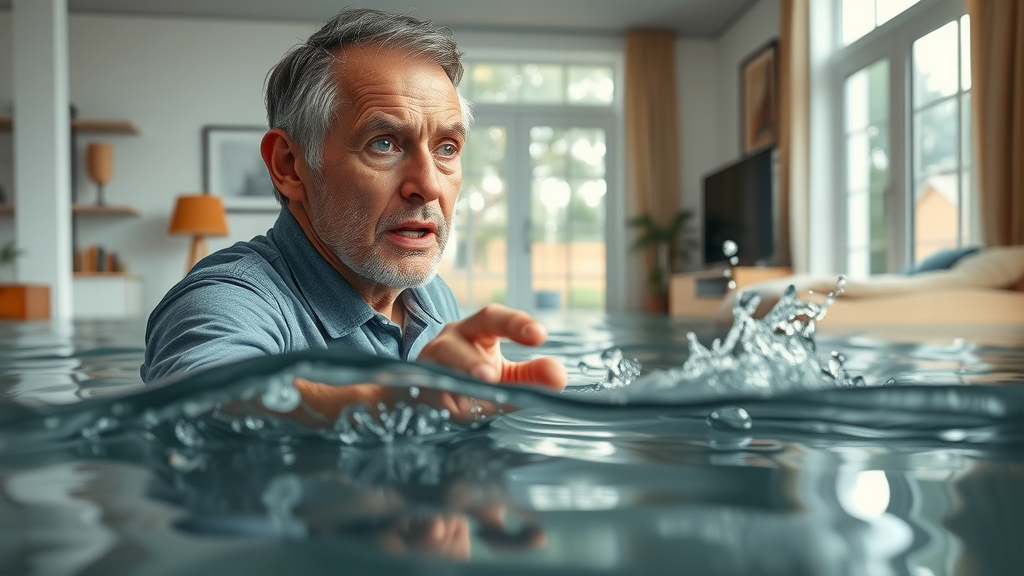
Time is your enemy when it comes to water damage . Even a small amount of water—just enough to dampen carpet fibers or seep under floorboards—can create an ideal breeding ground for mold grow, weaken structural integrity, and ruin cherished possessions. The moment you notice any leak, spill, or flooding, every second counts in preventing flood damage from escalating.
Spotting and addressing water damage quickly minimizes costly repairs. For example, moving furniture off waterlogged carpets within the first hour can spare them from irreversible staining and warped wood. Shutting off your water source and electricity in affected areas ensures safety and can prevent added issues like electrical shorts and fire hazards. If you’re dealing with standing water, acting fast can help preserve your home—and your peace of mind.
| Type of Water Damage | Response Time | Potential Risks | Quick Fixes |
|---|---|---|---|
| Standing Water | Within Minutes | Flood damage, structural risk | Extract water, protect valuables |
| Flood Damage | Within Hours | Deteriorating affected areas | Initiate drying, use fans |
| Mold Grow | 24-48 Hours | Health hazards, structural issues | Disinfect, remove wet materials |
What This Guide Will Teach You About Water Damage and Damage Restoration
- Swift identification of water damage in your home
- Immediate quick fixes for water damage
- Expert strategies for water damage restoration and the restoration process
- When to call the professionals for flood damage
- Interacting with your insurance company post-damage
Identifying Water Damage Early: Signs Before Restoration Process Begins
- Discoloration or bubbling on walls and ceilings in affected areas
- Warped flooring or foul odors in standing water zones
- Visible mold grow near water sources
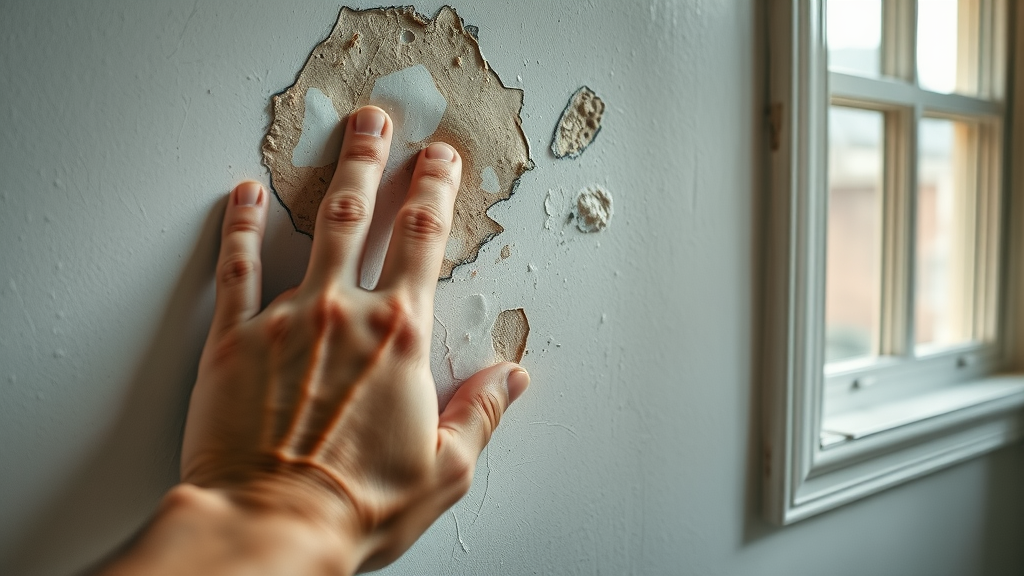
Recognizing water damage in its early stages can save you from the headache of major renovations. Common warning signs include yellowish or brown stains, paint that bubbles or peels, and unexplained dampness in previously dry areas. Floors in affected zones may feel warped, spongy, or emit musty, unpleasant odors—a classic sign of hidden standing water or the beginnings of mold grow.
Don’t overlook mold growth, which can swiftly take over damp environments. Look for green, black, or whitish patches near plumbing fixtures or ceilings where leaks are recent or routine. Investigating the area with good lighting and your sense of smell can help pinpoint issues before visible damage results in larger, more expensive restoration processes.
“Early detection of water damage can mean the difference between a minor repair and comprehensive home restoration.” — Industry Expert
Step-By-Step Damage Restoration: What to Do Right After Water Damage
Successfully managing water damage begins with decisive, systematic action. The first step is always safety—shut off electricity, especially in rooms where standing water is present, to prevent shock or fire. Next, focus on removing water, drying out the space, and preventing any chances for mold grow to establish a foothold. Following this routine will set you up for a more efficient restoration process.
Damage restoration isn’t just about removing water or airing out rooms. It’s about mitigating long-term impacts, restoring indoor air quality, and protecting against structural hazards. Taking these steps immediately after water exposure can dramatically reduce costs and time, especially when compared to delayed intervention, which can increase mold growth and destroy building materials.
Remove Standing Water to Stop Further Water Damage
- Shut off electricity in the flood damage area
- Use pumps, wet vacuums or towels to remove standing water
- Move valuables from affected areas immediately
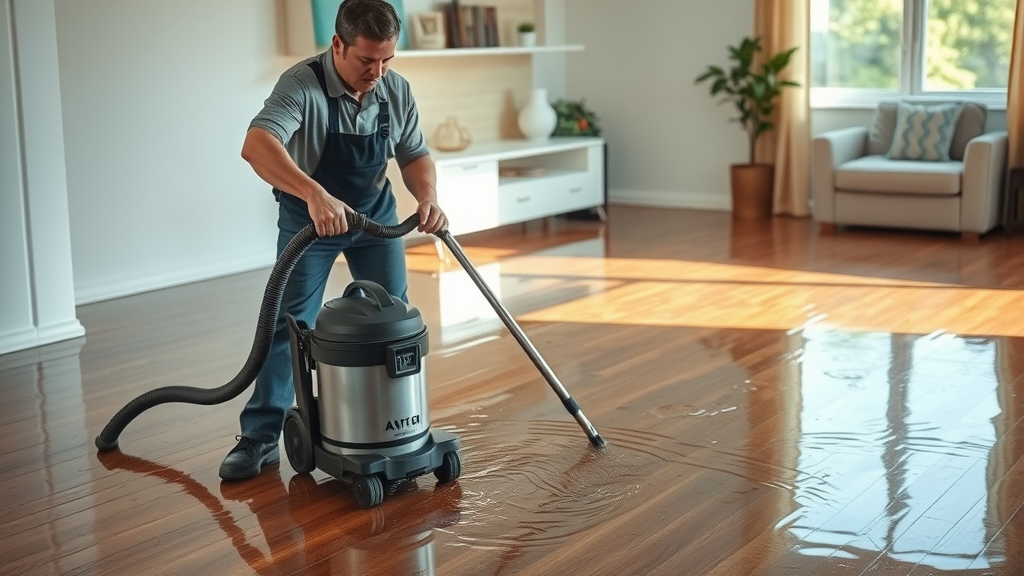
When water begins pooling indoors, it’s crucial to respond immediately. Start by safely shutting off electricity in the affected area to eliminate hazards. Next, use tools at your disposal: a wet vacuum is perfect for small to medium amounts of standing water, while towels can soak up remaining wet spots. For significant flood water, even mops and buckets can offer an immediate first response until professional help arrives.
As you remove water, pay close attention to items in direct contact with the affected zone. Prioritize saving electronics, important documents, and soft furnishings that can be quickly moved out to dry, away from ongoing exposure. Fast removal reduces the risk of deeper intrusion and secondary issues like mold and mildew, which can begin forming, unseen, in as little as one to two days.
Dry Out Flood Water from Affected Areas
- Open windows and doors for ventilation
- Utilize fans and dehumidifiers for faster drying
- Remove soaked carpets and furniture to prevent mold grow
After the bulk of standing water is gone, start the drying process without delay. Open all windows and doors to create cross-ventilation—a simple solution that can accelerate air movement and push moist air outside. Complement this natural airflow by bringing in fans or industrial air movers, which profoundly boost drying speeds and prevent low evaporation environments where mold thrive.
Be proactive about removing items acting as sponges: rugs, curtains, and upholstered furnishings. If left damp, these materials will not only retain moisture, but also foster mold grow and offensive odors. Use dehumidifiers in the affected area to pull moisture from the air—an essential strategy when outside humidity is high or during colder seasons when drying naturally is more challenging.
Decontaminate and Prevent Mold Growth After Water Damage
- Clean all affected areas with antimicrobial solutions
- Discard unsalvageable materials to reduce mold grow risk
- Monitor for visible signs of residual water damage or mold growth
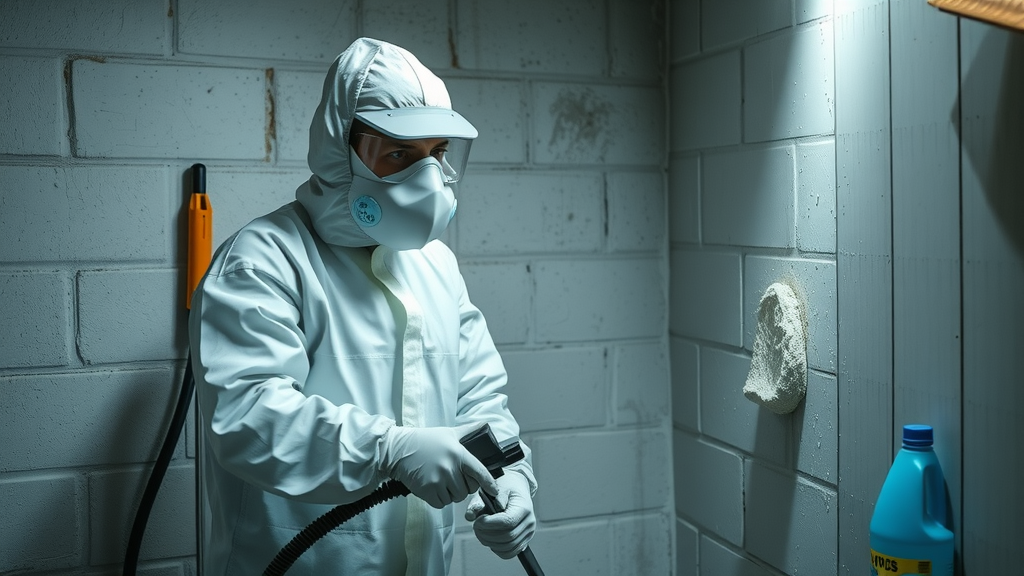
Once the area feels dry, don’t stop—disinfection is a must. All surfaces that came in contact with water should be cleaned using antimicrobial solutions designed for household use. This step destroys bacteria and fungus invisible to the naked eye but potentially harmful to building materials and your health. Pay extra attention to baseboards, corners, and any spots that might have stayed damp for hours.
Some materials, especially those that are porous or already crumbling, should be disposed of rather than salvaged. Removing these items reduces the risk of future mold grow and ensures the restoration process is thorough. Continue monitoring the area for several days following drying and cleaning. If you spot new stains, peeling paint, or faint musty smells, it’s time to re-examine the affected zone or consult a professional.
Restoration Process: When to Call for Professional Water Damage Restoration
- If standing water persists for more than a few hours
- For extensive flood damage or hidden affected areas
- If electrical systems, insulation or large portions of drywall are saturated
Some circumstances require more than DIY. If you cannot remove standing water completely within a short period, or if hidden danger lurks behind walls and beneath floors, call a specialized restoration service promptly. Deep-seated flood damage and water intrusion into major building systems demand tools, expertise, and industrial-grade dehumidifiers far beyond standard home equipment.
Modern water damage restoration teams can access water in remote areas, test for ongoing dampness, and apply antimicrobial treatments in a way that fully resets your home’s safety and structural integrity. Remember, if the damage restoration job isn’t finished correctly the first time, mold, mildew, and persistent odors can haunt a home for years.
“Professional water damage restoration teams will use industrial pumps and drying equipment to ensure your home is safe and dry.”
Flood Water vs. Leak: Differences in Water Damage Restoration Approaches
| Source | Impact | Response |
|---|---|---|
| Flood Water | Widespread, affects multiple rooms | Professional restoration process, major repairs |
| Leaks | Localized to affected area | Quick fix, monitor for further water damage |
Understanding the cause of your water issue determines the right response. Flood water —from storms, appliance ruptures, or sewer backups—causes widespread destruction, easily soaking multiple rooms and structural elements. These events demand a full restoration process—professional drying, wall and floor removal, and extensive repairs—often followed by major insurance claims.
In contrast, a burst pipe under a sink or a leaky appliance typically affects one area, allowing for a targeted quick fix. After stopping the water source, quickly dry all materials and check for hidden moisture with the help of moisture meters. Even if you solve a small amount of water damage yourself, don’t ignore follow-up: check again after a day or two for swelling, discoloration, or musty odor—signs further intervention may be needed.
Common Causes of Water Damage and Prevention Tips
- Burst pipes and leaky plumbing
- Faulty appliances (washing machines, dishwashers)
- Roof leaks and blocked gutters
- Regular maintenance to prevent future water damage
Most water damage stems from preventable sources: aged or neglected pipes, appliances in need of routine service, and gutters blocked by leaves or debris. When pipes rupture or supply lines fail, hundreds of gallons can spill in minutes, while clogged gutters send rainwater into walls and crawl spaces, causing slow but serious structural damage.
The best prevention is vigilance. Inspect vulnerable appliances, especially washing machines and water heaters, at least twice a year for rust, leaks, or odd noises. Have your roof, gutters, and plumbing professionally checked each season, especially before severe weather. Proactive repairs cost far less than damage restoration, and a little attention now can save you from the stress of future emergencies.
Insurance Company Communication: How to Handle Water Damage Claims
Documenting damage thoroughly and communicating effectively with your insurance company speeds the claim process and maximizes your potential reimbursement. Understanding your insurance cover and knowing what to expect from policies cover or flood insurance programs means fewer unpleasant surprises after water damage strikes.
Documenting Damage Restoration for Insurance Cover
- Take clear photos and videos of affected area and water damage
- List all damaged items for the insurance company
- Contact your insurance company immediately for claim instructions

Proper documentation is key to damage restoration reimbursement. Photograph every affected area , including less obvious places where water may have intruded. Capture wide shots as well as close-ups to provide evidence of the full impact. Maintain an itemized list of damaged goods; include serial numbers and approximate values when possible. This makes your initial call to the insurance company smoother, making it easier to prove losses and get coverage authorized quickly.
Quick contact with your insurance company is essential—any delay might affect processing your claim. Some insurance policies require notification within 24 hours of an event. Provide digital photos and written descriptions as soon as possible, and be ready to answer questions about the amount of water, water source, and steps already taken to mitigate further damage.
Understanding Insurance Cover for Water Damage Restoration
- Policies vary: distinguish between flood damage and sudden pipe bursts
- Not all types of water damage are covered - review your policy details
Water damage can be a tricky area for insurance policies. Many standard homeowner’s insurance plans in the United States do not cover flood water or damage resulting from storms or rising seas. Instead, these require separate flood insurance, often through the National Flood Insurance Program (NFIP). Sudden events like a burst pipe may be covered, while gradual, preventable leaks are not. Review your policy details carefully, and note any specific provisions for damage restoration, excluded sources, or requirements about proper maintenance.
When in doubt, ask for clarification from your insurance company. Knowing your policy’s scope before disaster strikes gives you leverage, ensures smooth claims, and may influence your decision on whether to handle minor restoration yourself or rely on professional restoration services.
Preventing Mold Grow: Essential Steps After Water Damage Restoration
- Ensure all affected areas are thoroughly dried
- Use dehumidifiers in damp areas
- Repair leaks and monitor for new signs of water damage
One of the most serious risks following water damage is uncontrolled mold grow. Mold and mildew flourish quickly—often within 24 to 48 hours—if moisture lingers. Besides creating health hazards, mold can stain, warp, and destroy walls, flooring, and furniture before you even know it’s there. After damage restoration, continue running dehumidifiers for several days and verify hidden corners remain dry with moisture meters or by hand-checking baseboards and drywall for cold or damp spots.
If you discover a recurring damp patch or reappearance of a musty odor, act immediately. Repair the source—whether a pinhole pipe leak, loose roof shingle, or failing window seal—to permanently break the moisture cycle. Regular inspections in laundry rooms, basements, and bathrooms help you stay ahead and catch issues before they require costly intervention.
People Also Ask: Water Damage Answers
What should I do immediately after water damage?
- Stop the water source and remove standing water
- Turn off electricity in affected areas
- Begin drying to prevent further water damage
If you’re facing water damage, act immediately . First, eliminate the cause by shutting off water valves, then cut power to the region if it’s wet. Next, work to remove as much standing water as possible and bring in fans or a dehumidifier to jumpstart the drying process. The earlier you address these steps, the less likely you’ll face further issues like mold grow or structural damage.
Can water damage be fixed in a house?
- Yes, water damage can be fixed through damage restoration—from drying and cleaning to full repairs. Early intervention is key.
Absolutely, water damage is not a death sentence for your home—provided you move quickly. Most cases can be managed with a combination of DIY fixes and professional restoration service. The restoration process usually begins with extraction and drying, followed by cleaning and repairs. The sooner you act, the more likely you’ll limit the scope and cost of restoration.
How to tell if water damage is serious?
- Large affected areas, persistent dampness, musty odor, or visible mold grow indicate severe water damage needing professional restoration.
Serious water damage is often easy to spot: it covers expansive areas, refuses to dry, and leaves persistent dampness or an unmistakable musty smell. Sometimes, evidence is visible—mold grow, peeling paint, warping wood—but sometimes it hides, showing up as faint stains or minor wall bulges. When the damage extends under floors or within wall cavities or involves structural elements, call a professional for a thorough assessment and water damage restoration.
What qualifies as water damage?
- Water damage includes any destruction to property caused by intruding water—ranging from leaks and overflows to storm and flood water.
Generally, any incident where water unexpectedly touches and harms your property qualifies as water damage. This can range from small leaks in pipes or appliances to major incidents like storm-related flood water or sewer backups. Recognizing what constitutes water damage helps you know when insurance may apply or when professional restoration services are needed.
Key Takeaways for Addressing Water Damage Quickly and Effectively
- Act immediately to limit water damage in affected areas
- Remove standing water—focus on water damage restoration
- Prevent mold grow with thorough drying and cleaning techniques
- Consult your insurance company regarding damage restoration
Frequently Asked Questions
- What are first steps for water damage restoration? Swiftly remove standing water, cut off electricity, and start the drying process as soon as possible. Follow up with thorough cleaning and disinfection.
- How long does the restoration process typically take? Depending on the severity, basic drying and cleaning may take 2-5 days, while larger repairs and mold remediation may require several weeks.
- When should a professional damage restoration service be called? Call a professional if you can’t remove all water, if affected areas are extensive, there’s mold grow, or if essential systems (like electricity, drywall, or insulation) are compromised.
Expert Strategies for Long-Term Water Damage Prevention
- Regularly inspect your home for leaks and standing water
- Upgrade appliances and piping to modern standards
- Keep contact information for reliable water damage restoration companies
Think ahead—make regular inspections a routine, especially after storms, heavy use, or noticeable plumbing issues. Upgrade old fixtures and pipes before leaks start, and research reputable water damage restoration companies in your area so you’re ready if disaster strikes. Investing a little in preparation today can spare you tens of thousands in repairs tomorrow.
Save Your Home: Immediate Steps for Water Damage Recovery
- Don’t delay—take immediate action at first sign of water damage
- Use the tips in this guide to avoid costly restoration process
Immediate action is your best defense. From recognizing the signs to knowing when to call in professionals, these water damage quick fixes save time, money, and heartache. Make sure your family, friends, and neighbors know what to do too—quick communication protects more than just your home.
Watch: Restoring a Water Damaged Home Step-by-Step [Video 1]
Watch: The Restoration Process Explained by Professionals [Video 2]
Act fast, use proven solutions, and don’t hesitate to call professionals for comprehensive water damage restoration—the key to protecting your home is in your hands.


Write A Comment